
Blog / Ask the Expert / Tips On Tiling Ceramics
12/7/2020
Anything including labor feels better, more precious. Plus, you get the joy of saying "I did this". You can practically decorate your worn-out and old-fashioned bathroom or your living room with worn parquets due to pulled armchairs. Ok, but how?
First of all, you will have to decide whether to completely remove the flooring in that area. In case you do not want to spend too much time, you can just clean the surface and start tiling.
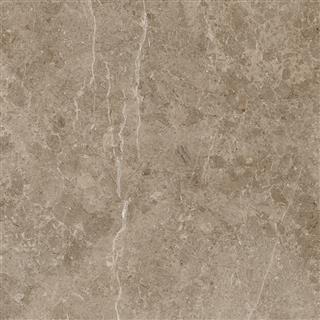
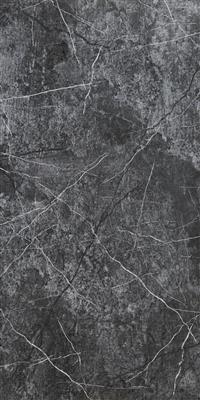
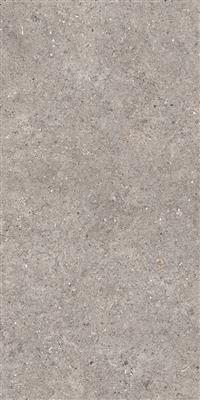
Measure the area and buy the required amount of ceramics. For the worst case, we would like to recommend you to buy a spare package. This way, you will not need to leave your whole work unfinished due to broken, cracked ceramics during application. Buy appropriate joint filler, ceramic mortar, trowel, tile spacer, ceramic cutter and hammer.
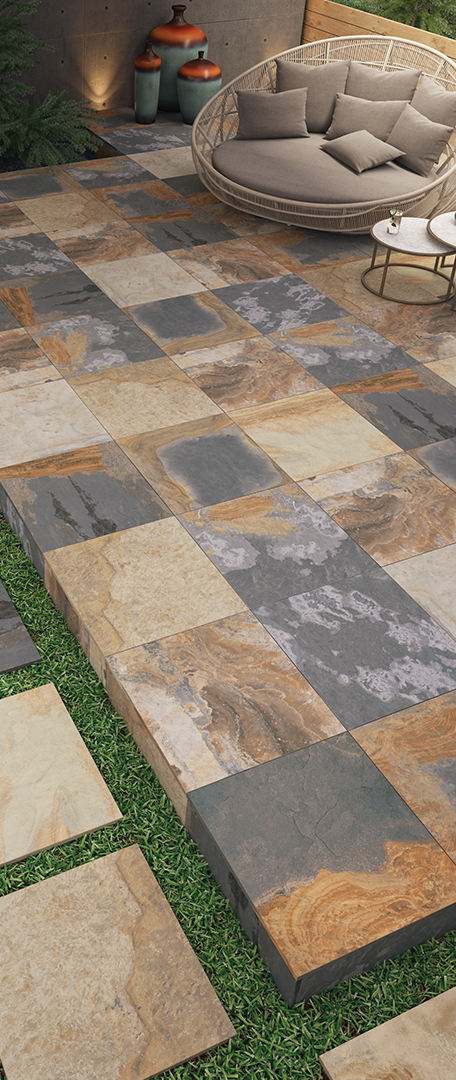
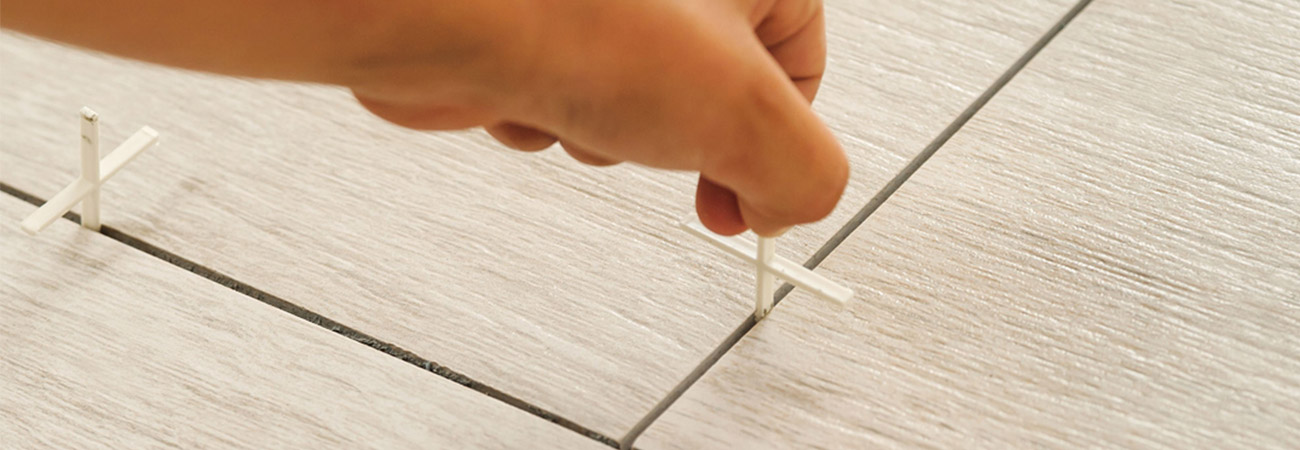
Do not forget to check whether there are color tone changes in purchased ceramics. You can decide how to tile the products firstly by making a test tiling to the whole area without using any adhesive. This way, you will also see whether there are any broken or partially cracked products. You will need to crack the big ceramics according to your size by means of ceramic cutter. We would like to warn you that this will not be an easy operation. After this tiny challenge, you can start tiling operation. For wall-tiling, you should start from floor and go through ceiling, for floor-tiling you should start from the corners. In accordance with this instruction, you can spread the suitable mortar to the whole surface evenly by means of trowel and start placing ceramics. Using the same mortar on the back side of ceramics, you should place them with circular movements. In order to create proper ceramic gaps, remember using the tool called tile spacer. Improper gaps can be one of the most important factors revealing your amateurism. After finishing this, you should wait for 24 hours and re-spread the joint filler to ceramic gaps by means of a trowel. Before using the filler, do not forget to remove tile spacers. Without worrying about creating a mess, within an average of one and half hour, you can easily clean the residue materials with a wet sponge. You can thoroughly clean the properly dried ceramics with joint cleaner and proudly observe your work.
In order to serve you better, we use cookies within the scope of personal data protection law. For more information, you can review our Privacy and Cookie Policy.
to our newsletter
Your registration has been successfully received. We wish you a nice day.